


Spongy Brake Pedal Causes and How to Bleed Brake Lines at Home
When you press your foot down, your vehicle should stop right away. If it feels soft or sinks down, you might have air in your system. This can be dangerous, whether you’re driving to work or on the highway.
We’ll show you the main spongy brake pedal causes to help you find the problem fast. Learning how to bleed brake lines at home is key for car owners. By following these steps, you can get rid of air pockets and make your brakes work better.
Key Takeaways
- Air in the hydraulic system is the most common reason for a soft feel.
- Regular maintenance ensures your vehicle maintains optimal stopping distances.
- Bleeding the system removes trapped air bubbles effectively.
- Safety remains our top priority when performing DIY automotive repairs.
- Proper fluid levels are essential for a reliable braking performance.
Understanding the Spongy Brake Pedal Issue
When you press your brake pedal, you expect a firm response. If it feels spongy, your hydraulic system is not working right. This is often because air has gotten into the lines, replacing the fluid with gas.
Brake fluid is meant to be a liquid that doesn’t compress. But when air bubbles are there, they compress instead of moving the brake pads. Finding out why your brakes feel spongy early can help avoid losing stopping power.
Common Symptoms of a Spongy Brake Pedal
It’s important to know when your brakes are failing. You might notice the pedal goes down closer to the floor before the car slows down. Sometimes, the pedal feels soft or “mushy” under your foot.
- The pedal sinks slowly toward the floorboard while you are stopped.
- You experience a noticeable delay between pressing the pedal and feeling the brakes engage.
- The vehicle requires significantly more distance to come to a complete stop.
The table below shows the difference between a healthy braking system and one that needs attention.
| Feature | Healthy Pedal | Spongy Pedal |
|---|---|---|
| Resistance | Firm and consistent | Soft or sinking |
| Engagement | Immediate response | Delayed or sluggish |
| Fluid State | Pure, air-free liquid | Contaminated with air |
Why a Properly Working Brake Pedal is Important
Your braking system is key to your safety. A firm pedal lets you react fast to sudden changes or emergencies. Ignoring spongy brakes can lead to a failure when you need it most.
“Safety is not just a feature; it is the foundation of every journey you take on the road.”
Keeping your pedal responsive is not just about comfort. It’s about keeping you and your passengers safe. If your brake pedal feels spongy, fix it right away to ensure your vehicle stops well and you feel safe.
Common Causes of a Spongy Brake Pedal
Knowing why your brake pedal feels spongy is key to keeping your car safe. A soft pedal means your brakes’ hydraulic system is not working right. We need to check the whole braking system to find out why.

Air in the Brake Lines
Air in the brake lines is the top reason for spongy brakes. Brake fluid can’t be compressed, so it moves force well. But air, which can get in, compresses instead, making the pedal feel soft.
Worn Brake Components
Brake parts like seals can wear out over time. When they do, air can get in or fluid can leak out. This lowers pressure. If your car has other problems, like a car that won’t start, it’s a sign to check everything regularly.
Leaks in the Brake System
Leaks are a big problem that need fixing fast to fix spongy brakes. Cracks in hoses or corroded lines let fluid leak and air in. Even new parts can be installed wrong, causing leaks.
Contaminated Brake Fluid
Brake fluid pulls moisture from the air, which can make it dirty. When it’s full of water or dirt, it boils too easily. This makes gas bubbles, feeling like air in the lines.
Diagnosing the Problem
Finding the cause of a soft pedal needs a careful check of your car’s health. Before fixing anything, make sure there are no mechanical problems for your safety. Troubleshooting spongy brakes means checking the whole hydraulic system step by step.
Don’t rush to bleed the lines without inspecting the parts first. Mechanics use different methods to find and fix problems. But, if you see other issues, like a shaking steering wheel at high speeds, your suspension or wheels might need work too.
Visual Inspection of Brake Components
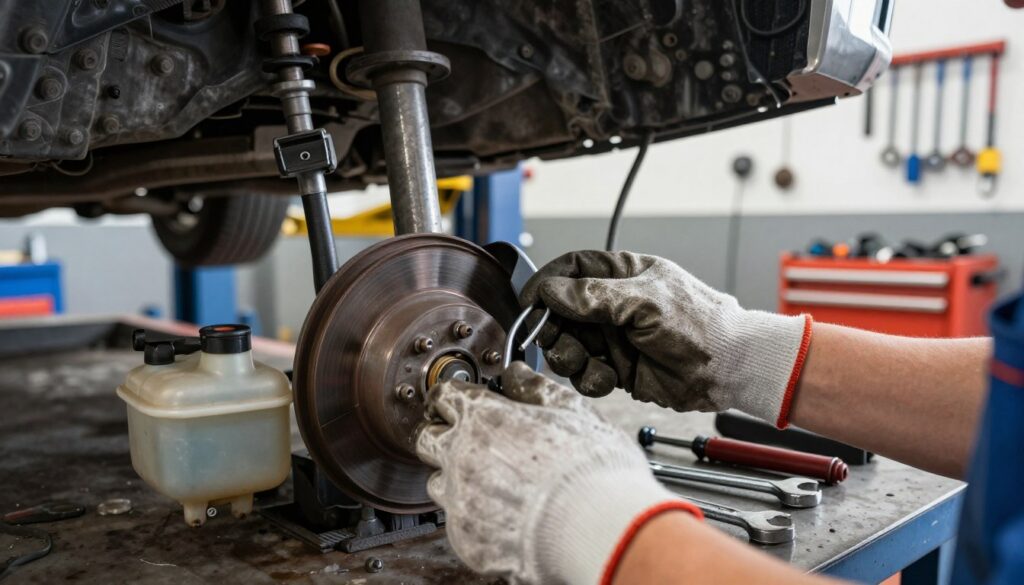
First, look at your calipers, wheel cylinders, and brake lines. Look for any visible signs of leakage or wet spots. A broken hose or a leaking caliper can let air into the system, making the pedal feel soft.
Also, check your brake pads and rotors. Worn parts can make the piston move too far, feeling like air in the lines. Make sure everything is securely attached and not too rusty or corroded.
Checking Brake Fluid Levels
Then, check if your brake fluid levels are right. If they’re low, air might be getting in, which can cause a soft pedal. Always check the fluid color; if it’s dark or murky, it needs a full flush.
If the fluid keeps dropping, you have a leak. Don’t just add more fluid. You need to find and fix the leak to keep your brakes working.
Listening for Unusual Noises
Lastly, listen for any odd sounds from your wheels. Grinding, squealing, or clicking means something’s wearing out. These sounds often go with a soft pedal.
By listening, you can find where the problem is. A careful approach to troubleshooting spongy brakes helps fix the real issue, not just the symptoms. This makes your bleeding process more effective.
Tools You’ll Need for Bleeding Brake Lines
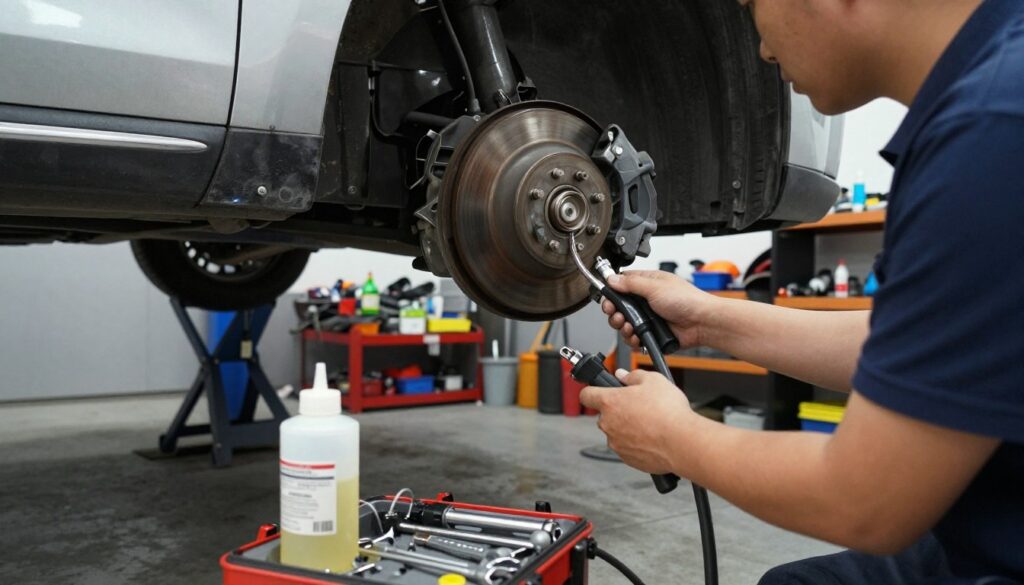
When you decide to bleed your brake system at home, having the right tools is key. The right preparation helps avoid delays and protects your car’s parts. Make sure to gather everything before lifting the car.
Essential Tools for the Job
You’ll need a reliable floor jack and sturdy jack stands to lift your car safely. Never use a jack alone while working underneath, as safety is always first. A high-quality box-end wrench is also necessary to avoid damaging the bleeder valves.
Clear plastic tubing and a clean container are also essential for home brake bleeding techniques. The tubing helps you see when air bubbles stop, indicating the fluid is clean. If dashboard lights flash, learn about dashboard lights meanings and what to do to ensure your system is ready for maintenance.
“The quality of your tools directly dictates the quality of your repair; never compromise on safety equipment when working on your braking system.”
| Tool Name | Primary Function | Safety Importance |
|---|---|---|
| Floor Jack | Lifting the vehicle | High |
| Jack Stands | Supporting the weight | Critical |
| Box-end Wrench | Opening bleeder valves | Moderate |
| Clear Tubing | Monitoring fluid flow | Low |
Recommended Brake Fluid
Choosing the right brake fluid is as important as having the right tools. Always check your owner’s manual to see if your car needs DOT 3, DOT 4, or another type. Using the wrong fluid can cause system failure or corrosion.
Buy a fresh, sealed container of fluid to avoid water contamination. Old or opened fluid can absorb water, lowering its boiling point. By following these home brake bleeding techniques, you keep your vehicle safe and responsive.
How to Prepare for Brake Line Bleeding
Doing DIY brake line bleeding needs careful planning and organization. Before starting, make sure your workspace is set up and your vehicle is secure. These steps help avoid mistakes and make the job easier from start to finish.
Safety First: Preparing Your Vehicle
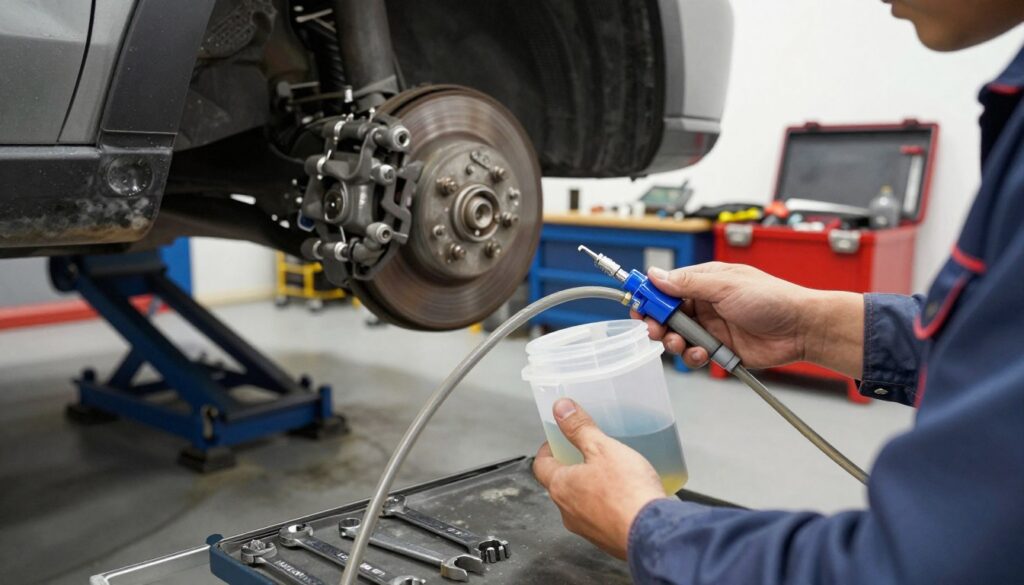
Your safety is our main concern when working on cars. Always check your owner’s manual for specific repair steps. Never use a hydraulic jack alone to support your vehicle.
Use sturdy jack stands on a solid, concrete surface to lift your car. Make sure the parking brake is on and the wheels are chocked. This setup makes your work area safe and stable.
Gathering Your Supplies
Having the right tools ready is key for a professional DIY brake line bleeding job. You’ll need fresh brake fluid, a container for old fluid, and wrenches for bleeder valves. For guidance, check out these 5 ways to bleed your brakes.
Organizing your workspace helps avoid delays and keeps you focused. Use the table below to make sure you have everything needed for a successful job.
| Category | Essential Item | Purpose |
|---|---|---|
| Safety | Jack Stands | Vehicle support |
| Fluids | Brake Fluid | System replenishment |
| Tools | Box-end Wrench | Bleeder valve access |
| Disposal | Catch Container | Fluid collection |
Preparing your tools and workspace ahead of time sets the stage for a safe and efficient DIY brake line bleeding job. Good preparation is the base of every successful repair, keeping your vehicle’s brakes working well.
Step-by-Step Guide to Bleed Brake Lines
Learning how to bleed brake lines at home needs patience and understanding of the hydraulic process. By following a clear guide, you can remove trapped air and improve your vehicle’s stopping power. This is key for safe and responsive driving.
Step 1: Locate the Brake Bleeder Valve
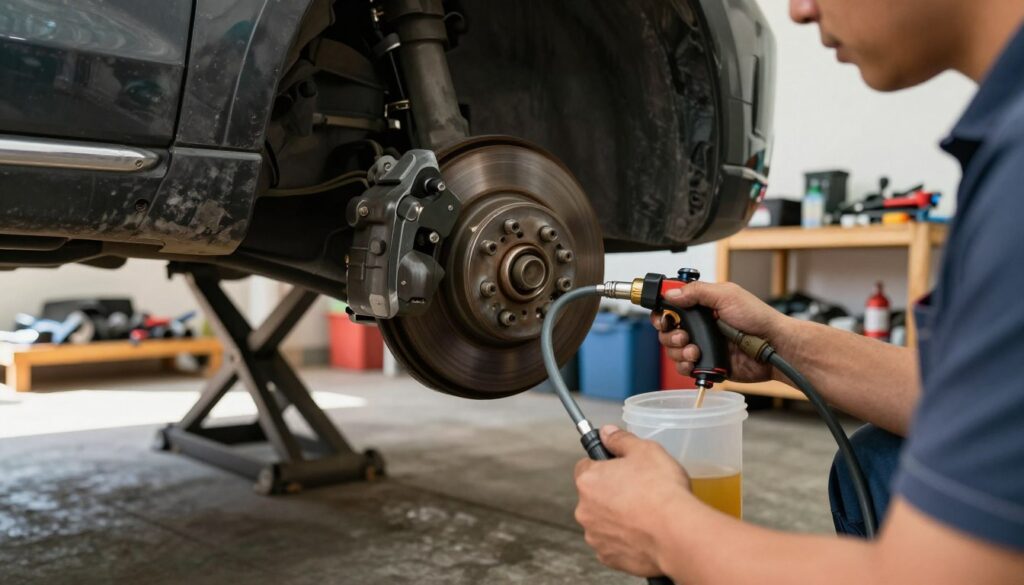
First, find the bleeder valve on each wheel’s brake assembly. These small valves are usually on the back of the brake caliper or wheel cylinder. You might need to remove the wheel for better access, depending on your vehicle.
Make sure the valves are not stuck or rusted before opening them. If they seem stuck, use high-quality penetrating oil and let it soak for a few minutes. Use gentle pressure to avoid damaging these parts.
Step 2: Use the Right Technique
When doing DIY brake line bleeding, the order matters a lot. Start at the wheel farthest from the master cylinder and move towards the closest one. This way, air bubbles move through the longest paths first.
“Consistency in your sequence is the hallmark of a professional brake job. Never skip a wheel, as even a small amount of air can compromise the entire system.”
Attach a clear plastic hose to the bleeder valve and put the other end in a canister with fresh brake fluid. Have someone pump the brake pedal a few times and hold it while you open the valve briefly. This lets air and old fluid out without letting air back in.
Step 3: Monitor Brake Fluid Levels During the Process
While bleeding brake system at home, watch the master cylinder reservoir closely. If the fluid level gets too low, you’ll pull more air into the lines and have to start over. Keep adding fresh, recommended brake fluid to the reservoir often during the task.
| Step Number | Action Required | Goal |
|---|---|---|
| 1 | Start at furthest wheel | Clear longest lines |
| 2 | Pump and hold pedal | Create hydraulic pressure |
| 3 | Open valve briefly | Purge air and fluid |
| 4 | Refill reservoir | Prevent air intake |
Do this at each wheel until the fluid in the clear hose looks clean and bubble-free. After finishing, tighten the valves well and check the pedal feel. A firm, consistent pedal means you’ve done the job right.
Tips for a Successful Brake Bleeding Process
Learning home brake bleeding techniques can make your car safer and run better. It takes patience, precision, and knowing how your brakes work.
Do-It-Yourself vs. Professional Assistance
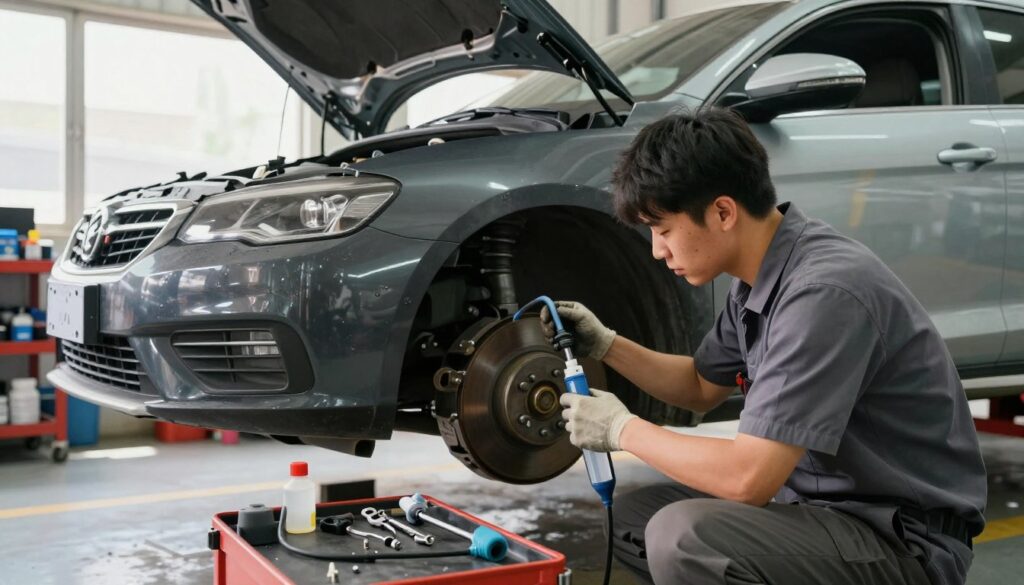
You can do this job yourself, but it’s easier with two people. One person presses the brake pedal, and the other works the bleeder valve.
This coordinated effort makes sure air gets out without coming back. If you’re alone, a vacuum bleeder kit can help keep the pressure steady.
Importance of Regular Maintenance
Keeping air out of your brake lines is easier than getting it out later. Always check your brake fluid levels and condition during your car checks.
Clean, fresh fluid stops corrosion and keeps seals working well. By being proactive with home brake bleeding techniques, you avoid moisture and system failure.
Knowing When to Seek Help
Even the best DIY folks sometimes need a pro’s help. If your bleeder screws are stuck or damaged, don’t try to force them. It can cost a lot to fix.
If you’ve tried bleeding the system many times and the pedal is soft, you might have a bigger problem. This could be a failing master cylinder or trapped air in the ABS module. In these cases, seeking professional assistance is the best way to keep your car safe and reliable.
Troubleshooting Post-Bleeding Issues
If you’ve finished bleeding your lines but issues remain, it’s time to dive deeper. The process aims to remove air, but it might not work right away. Knowing how to check your progress is key for safety.
Consistency of Brake Pedal Feel
A good braking system should give a firm and predictable feel every time. If your brake pedal feels spongy after bleeding, air might be trapped. Test the pedal by pressing it steadily while parked.
If the pedal goes down slowly, it means the system isn’t holding pressure right. You want the pedal to stay high and firm. If it’s not, you might need to bleed the system again to get rid of air bubbles.
What to Do If Problems Persist
When troubleshooting spongy brakes and issues don’t go away, look for more than air pockets. Check brake lines and connections for leaks that could let air back in. A faulty master cylinder can also cause problems by not keeping pressure.
If you can’t find a leak, it might be a damaged part or a bad installation. If the brake pedal feels spongy and you’ve tried everything, getting a mechanic’s help is a good idea. They have tools to find problems that are hard to spot at home.
| Symptom | Potential Cause | Recommended Action |
|---|---|---|
| Pedal sinks slowly | Master cylinder leak | Replace master cylinder |
| Soft, mushy pedal | Air in lines | Repeat bleeding process |
| Visible fluid spots | Damaged brake hose | Inspect and replace lines |
| Hard pedal, no stop | Seized caliper | Service brake calipers |
Preventing Future Spongy Brake Pedal Issues
Keeping your vehicle in good shape is key to your safety and the life of your brakes. Make it a habit to check your brake lines and fluid every time you change your oil. This keeps your car running smoothly.
By fixing spongy brake pedals, you can avoid problems. Make sure your brake fluid is always fresh and clean. This stops moisture and corrosion from damaging your car’s parts.
Routine Maintenance Schedules
Regular checks help spot issues early, like leaks or worn hoses. Set a reminder for a full brake system check at least once a year. This keeps your car safe and reliable.
Responsible Fluid Disposal
Used brake fluid is harmful to the environment if thrown away carelessly. Always take it to a certified recycling center or a place like AutoZone or O’Reilly Auto Parts. They know how to handle it safely.
Professional Oversight
If problems keep coming back, even with your best care, get help from a certified mechanic. They ensure your car is safe and meets all road safety standards.
FAQ
What are the most common spongy brake pedal causes?
Air in the lines, leaking calipers, or a failing master cylinder are common causes. Contaminated fluid that absorbs moisture can also cause air pockets.
Can I really learn how to bleed brake lines at home without a mechanic?
Yes, you can learn to bleed brake lines at home. You’ll need basic tools like a wrench and a clear hose. Using high-quality fluids ensures a professional job.
What should I do if my brake pedal feels spongy after I just replaced my pads?
If your pedal feels spongy after pad replacement, air might have gotten in. Or, the pistons might not be seated right. Try a full DIY brake line bleeding to fix it.
Are there specific home brake bleeding techniques for beginners?
The “two-person method” is effective for bleeding brakes at home. One person pumps the pedal, while the other operates the valve. If alone, use a “one-way” bleeding bottle to keep air out.
How can I effectively fix spongy brake pedal issues permanently?
To fix spongy brakes for good, find where the air is getting in. Check for leaks in Wagner wheel cylinders and make sure all fittings are tightened right.
Is bleeding brake system at home dangerous for my car’s ABS?
Bleeding brakes at home is usually safe for ABS cars. But, if air gets into the ABS modulator, you might need a pro to clear it.
What tools are required for troubleshooting spongy brakes?
For troubleshooting spongy brakes, you’ll need a flashlight for inspections. A pressure tester checks for master cylinder leaks. And, have a fresh bottle of DOT 4 fluid ready.

Hello! I’m Moheen Iftikhar, the founder of «CarMotivei». I’m dedicated to covering modern automotive trends, new car technologies, and useful driving insights to keep car lovers updated and motivated. Here, you’ll find detailed car reviews, expert automotive content, and helpful tips for drivers and enthusiasts alike.